I'm getting ready for the long weekend with these summer scones. I'll be having them with tea on the front porch behind our hydrangeas. With this recipe, I kept a light touch by using the mixer only for a very short period of time (under 30 seconds) to create the dough. The same effect can be created by hand, but be careful not to overmix. Treat yourself and your family with these comforting scones!
Preheat oven to 400 degrees. Line your baking tray with parchment paper.
If you have an electric mixer, use the accompanying mixing bowl for whisking together your flour, salt, sugar and baking powder. If you plan to mix by hand, any medium-sized bowl will work well, too.
Remove the paper wrapping from your butter, and use a sharp knife to cut the thin (1/8") pats of butter directly into your flour mixture. Stir with a wooden spoon occasionally. Before adding your wet ingredients, blend again with a wooden spoon or use a pastry cutter to achieve a course, crumbly mixture.
In a separate bowl, whisk together the cream, eggs and vanilla. Set aside 2 tablespoons of the mixture for brushing the scones. I used the electric mixer to blend the wet ingredients into the dry on a low setting for less than one minute. You can also use your wood spoon to achieve the same sticky dough. Be sure to add your chocolate chips, to taste.
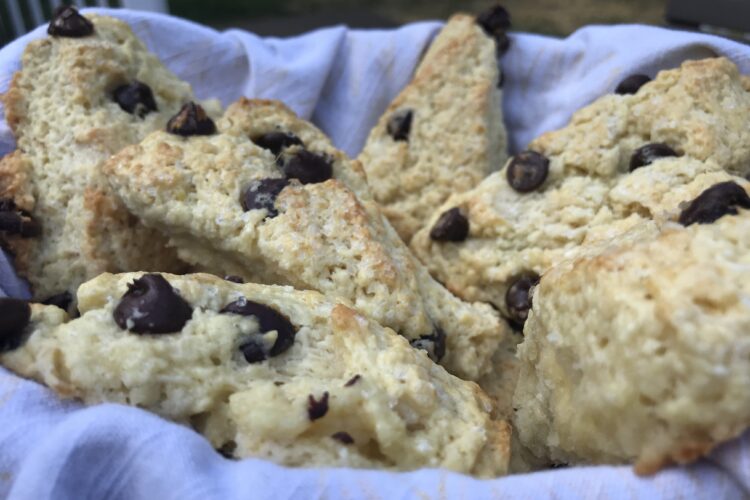
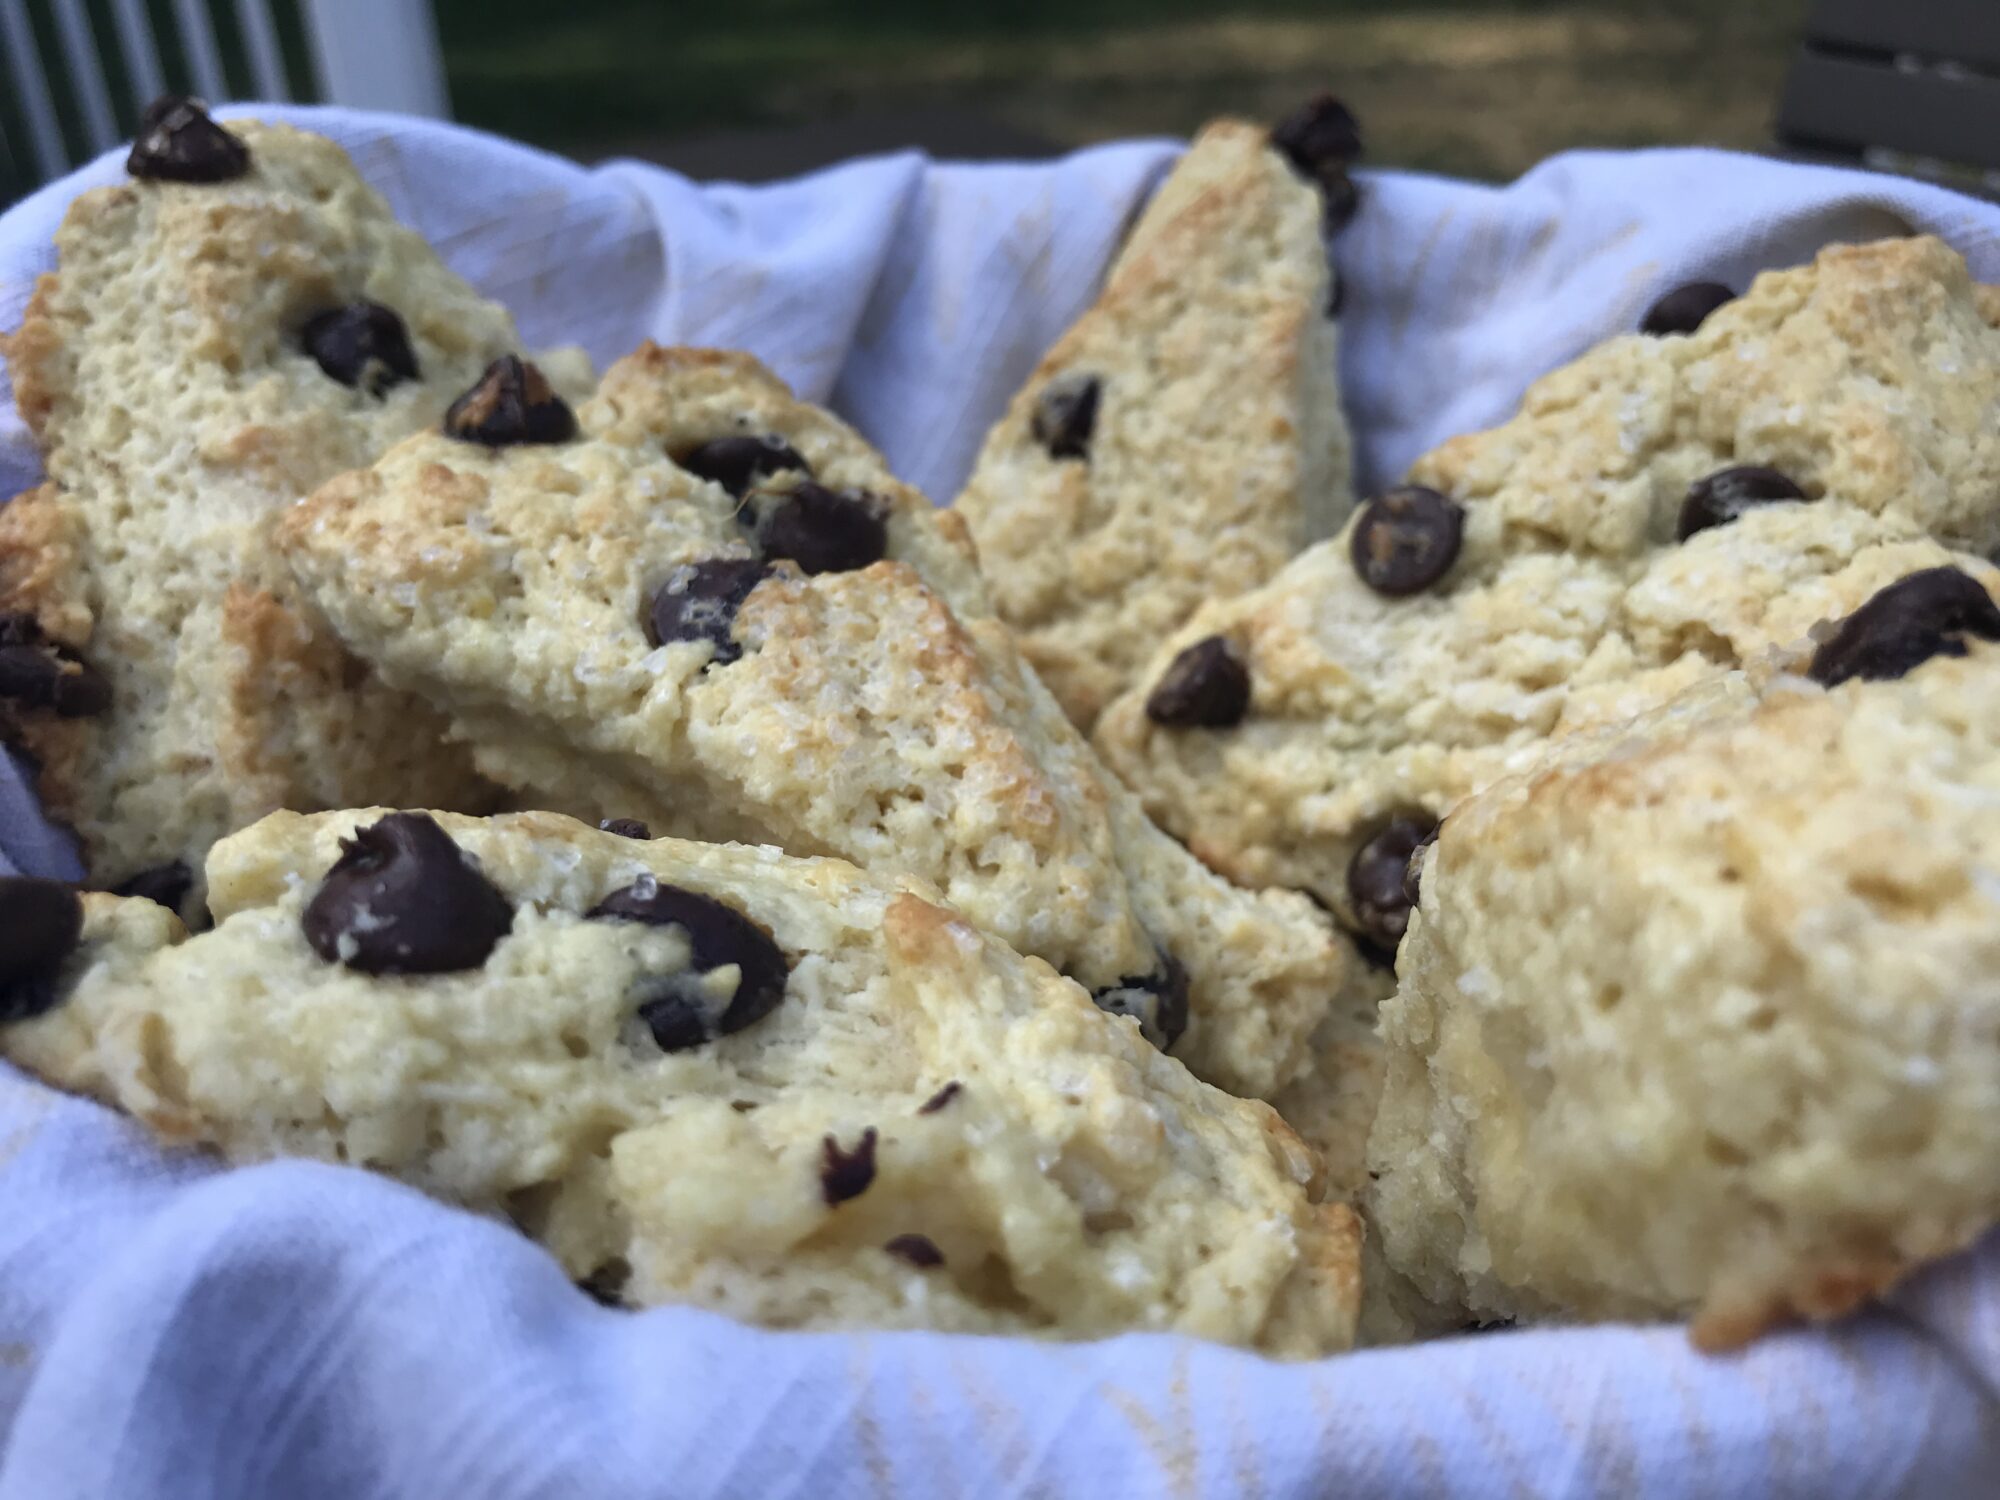
Transfer your dough onto a floured rolling mat or other surface. Gently create an 8" circle, a few inches tall. Brush the dough with your reserved egg/cream mixture, and sprinkle to taste with your coarse baking sugar. At this point, shape your dough as you choose: you can bake it whole and cut triangle shaped servings after allowing the scone to cool slightly, or you can use a floured biscuit cutter to create shapes beforehand. In the photo above, I used a paring knife to create triangle-shaped scones.
Bake scones for 20 minutes or until they become golden. Remove from oven and serve warm1
Ingredients
Directions
Preheat oven to 400 degrees. Line your baking tray with parchment paper.
If you have an electric mixer, use the accompanying mixing bowl for whisking together your flour, salt, sugar and baking powder. If you plan to mix by hand, any medium-sized bowl will work well, too.
Remove the paper wrapping from your butter, and use a sharp knife to cut the thin (1/8") pats of butter directly into your flour mixture. Stir with a wooden spoon occasionally. Before adding your wet ingredients, blend again with a wooden spoon or use a pastry cutter to achieve a course, crumbly mixture.
In a separate bowl, whisk together the cream, eggs and vanilla. Set aside 2 tablespoons of the mixture for brushing the scones. I used the electric mixer to blend the wet ingredients into the dry on a low setting for less than one minute. You can also use your wood spoon to achieve the same sticky dough. Be sure to add your chocolate chips, to taste.
Transfer your dough onto a floured rolling mat or other surface. Gently create an 8" circle, a few inches tall. Brush the dough with your reserved egg/cream mixture, and sprinkle to taste with your coarse baking sugar. At this point, shape your dough as you choose: you can bake it whole and cut triangle shaped servings after allowing the scone to cool slightly, or you can use a floured biscuit cutter to create shapes beforehand. In the photo above, I used a paring knife to create triangle-shaped scones.
Bake scones for 20 minutes or until they become golden. Remove from oven and serve warm1